


Summer is right around the corner, so you know what that means – it’s officially stationery season! Many couples (our sweet Elevate clients included) are deep in the midst of finalizing their wedding details, with invitations either freshly mailed or nearing completion!
Through the flurry of feelings of excitement and anticipation, we also completely understand those pesky moments of overwhelm and anxiety that come with pulling together these intricate details. If you don’t have a team supporting you through these components, it can truly feel like a full time job!
That’s why today, we’ve partnered with Alyssa Amez Design, an true expert in the world of wedding stationery, to provide our readers with helpful tips and essential advice for creating memorable invitations, following the ever-changing etiquette, and crafting beautiful day-of paper that fully tells your story. See below for our own Q&A, Alyssa’s helpful answers, and some pro tips for making your stationery process as stress free as possible!
Q: Can you provide us with your recommended wedding stationery process..at a glance?
Alyssa’s Answer:
12 – 15 Months Out: Start working on your Save the Dates! If you are working with a designer, the sooner the better.
9 – 12 Months Out: Mail your Save the Dates
6 – 8 Months Out: Start working on your Invitation Suite
3 – 4 Months Out: Mail your Invitations, start working on Day-of Stationery
1 – 1.5 Months Out: Typical RSVP Deadline
1 Month Out: Finalize all Day-of Stationery and go to print!
Q: When it comes to Save the Dates, what are important things to think about?
Alyssa: If you are working with a designer, start on your Save the Dates about 12-15+ months out from the wedding date to allow time for the design process! Ideally then, your mail out will happen between the 9-12 month mark. Some designers take care of assembly and postage for their clients so it’s all done for you. However, if you opt to do this on your own, remember that you’ll need to source postage, and be sure to consider the time that it takes to assemble and mail everything in the rest of your production timeline!
Q: What should be included on your Save the Date?
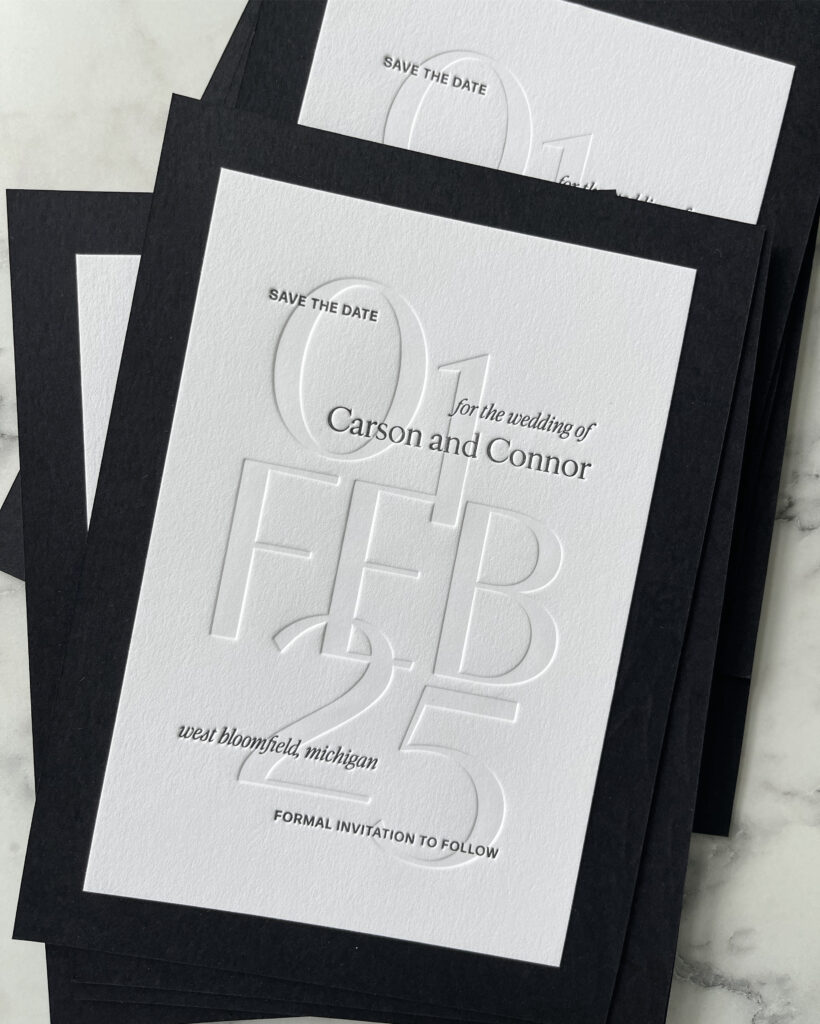
Alyssa: Of course, the couples’ names, wedding date and year are very important! If you don’t have a venue solidified yet or have different venues booked for ceremony and reception, be sure to put the city and state of where the reception is located, as guests tend to prefer to book accommodations closer to the reception venue. Also be sure to include your wedding website and password (if you have one), along with a note saying that the formal invitation will follow. An interesting trend to note: some people are are opting out of save the dates and are choosing to instead send their invitations closer to six months out!
Q: Alright, how about Invitations? What is important to include there?
Alyssa’s Answer:
Invitation
- Host Line (the people who are paying for/throwing the event)
- First / Middle / Last Name of the folks getting married
- Date & Year
- Time & Location of the Ceremony, along with the city and state
- Beyond these main items, there really are not a lot of rules anymore, and it really depends on your preferences and the formality of the event! If your event will be taking place at a private residence, you’ll want to get more specific on the address listed, and will want to share more on the details card. You’ll also want to include some wording similar to “Reception to follow / Dinner & Dancing to follow.” If you have a dress code, you can list the suggested attire on the bottom of the invitation. (Black Tie, Festive, Cocktail, etc.)
Details Card
- This is a great place to list any information that is important for guests to know if they didn’t look at your website. Things like this include:
- if the reception is held at a different location, include the time it begins along with the venue name, address, city and state.
- if you have accommodations set up, you can include this as well. Some inclusions to consider are:
- discount codes
- transportation/shuttle details; and
- parking information
- where they can go to find more information.
- Be sure to also think about other weekend festivities that guests are invited to, such as a Welcome Party, Rehearsal Dinner, or Post Celebration Brunch. If limited guests are invited, think about including a separate card for ONLY the guests that are!
RSVP Cards
More and more people are opting out of traditional mail-in RSVP cards and are asking guests to RSVP on their wedding websites. If you are also doing this, be sure to include RSVP information and your deadline on your Details Card!
If you are using a mail-in RSVP Card, you will typically want to include:
- A date to reply by;
- space and/or a line for guests to write their names;
- a place for their Yes / No response;
- meal selections (if you are having a plated dinner and want them to choose their entree);
- dietary restrictions (if you are having a family style or buffet dinner and only need to know specific restrictions to communicate to catering);
- if helpful, include details about the number of people invited in the party, so it is crystal clear who is invited
Envelopes
The guests and address listed on your outer envelope is a very important factor! It is your chance to clearly state who is invited. For Example:
- If You’re Inviting a Couple: Mr. Name & Mrs. Name
- If You’re Inviting a Guest and their unknown Plus One: Ms. Name & Guest
- If You’re Inviting an Entire Family: The Name Family
- Other Guests (>18, 18+ or 21+): Mr. Name & Mrs. Name and Person A, Person B (Person A and Person B are typically listed on the second line, underneath the parents’ names). If Person A and B are children under the age of 18, those names don’t require a title. If Person A and B are over the age of 18, include a title like Miss or Mr.
How to Format your Guest Address:
Mr. Name & Mrs. Name
1234 Address Lane
City, State
Zip Code
Return Address
These are VERY IMPORTANT! You can include this on the back of the envelope or on the front, top left corner. NOTE: If your invitation is sent through the machine at the Post Office, and your return address is on the front, the machine could read this as the delivery address on accident. It is probably cleanest to keep it on the back – even more helpful if you can get the City, State and Zip Code on one line.
How to Format your Return Address:
Name & Name
1234 Address Lane
City, State Zip Code


Q: Could you share some important Wedding Stationery Etiquette?
Alyssa’s Answer:
- Do NOT put your registry information on your stationery – this is a big no-no! You also typically shouldn’t tell people how to spend their money (i.e. asking for cash only on your registry).
- If you have a Wedding Website, DO include it on your stationery!
- If you are having an Adults-Only wedding, DO clearly communicate this!
- Use language similar to “Adults-Only reception to follow” on your invitation
- Under your website FAQs, you could include a note on this, such as “While we love your children, this is an adults only affair.“
- DO communicate your dress code! Guests like to know what they should wear, so be sure to include attire details on your invitations and on your wedding website!
Q: What are some stationery trends you are seeing?
Alyssa: Layering and texture is IN these days! I’m seeing lots of embossing, blind debossing, die cut shapes, and the infusion of lots of color. I’m loving it all! I also fully believe that envelope liners are here to stay; and many custom touches (such as venue illustrations) will continue to remain popular.


Q: Now that we’ve covered Invitations, let’s touch on Day-of Stationery. What is your “must have” list?
Alyssa: Must haves definitely come down to functionality! Some of my favorites are:
- A stunning seating chart or escort card display
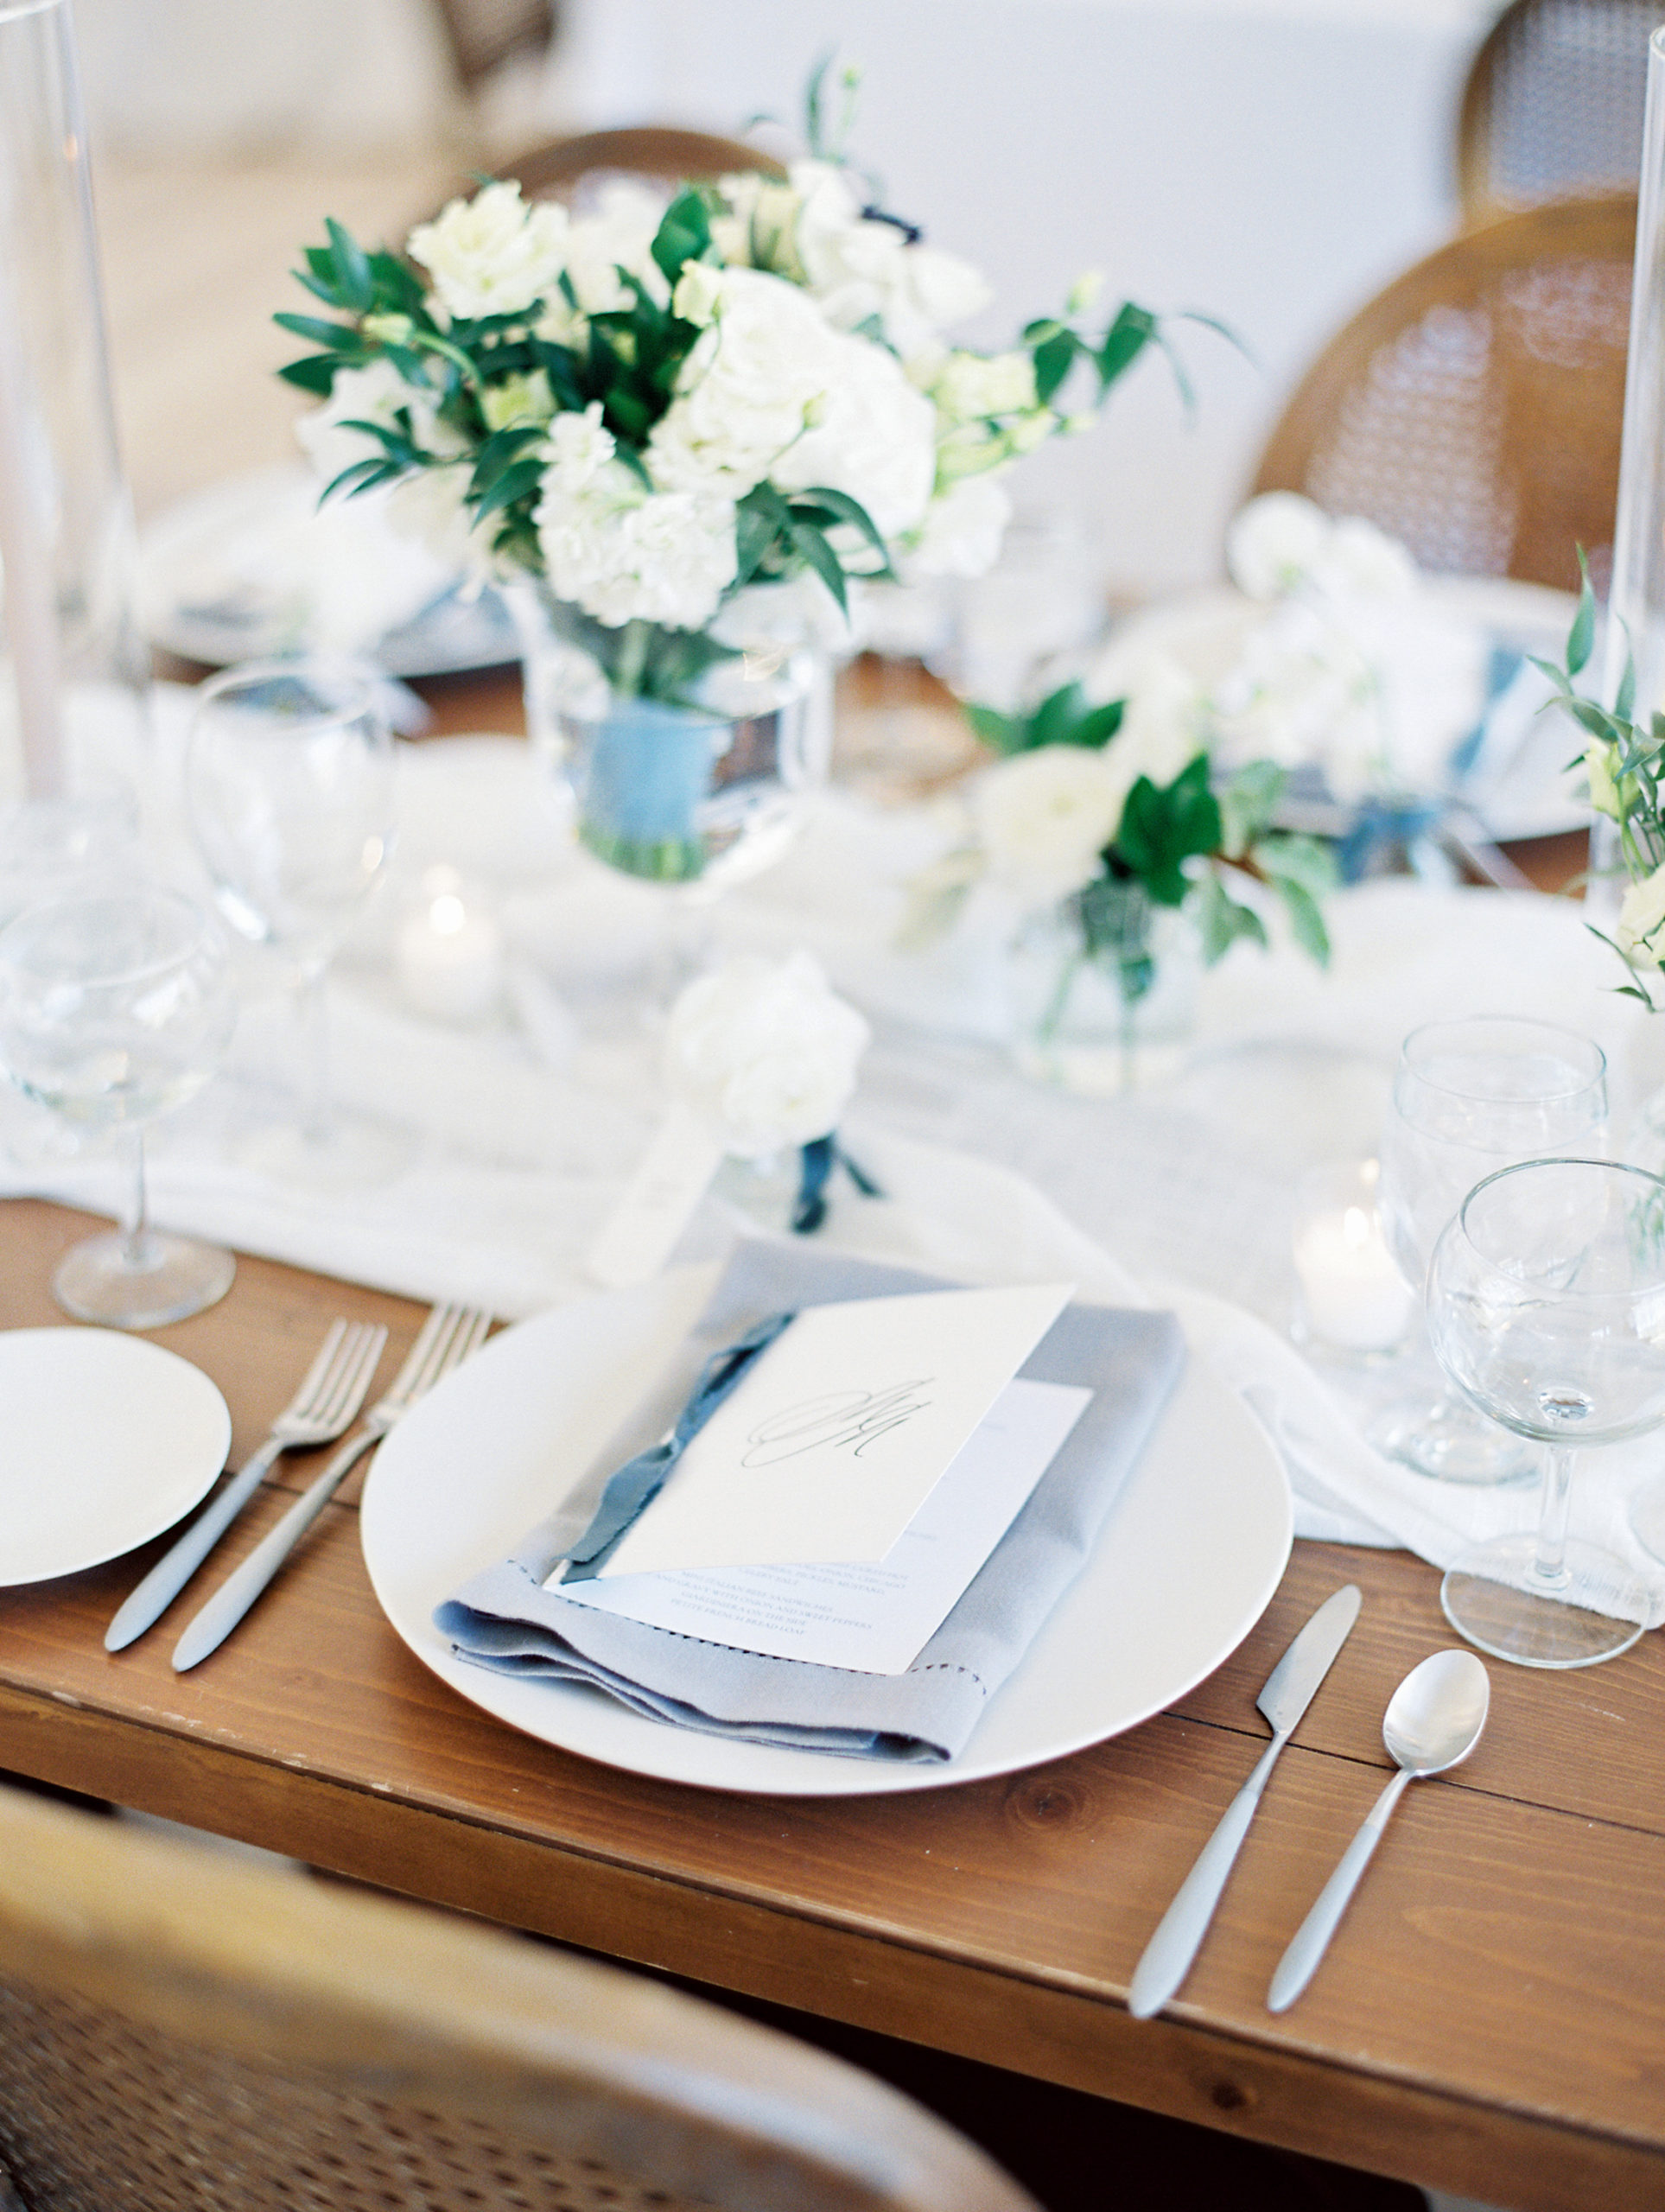
- Menus & Place Cards – a personal favorite, as they can really elevate a place setting!
- Table Numbers
- Bar Signs – a wonderful way to communicate with your guests and a great way to add some extra style to your day.
- Programs – another great way to personalize, IF they are in the budget! It’s a good place to include any ceremony traditions and their meanings that most guests might not know about.
- Welcome Sign, Cards & Gifts Signs, Guest Book Signs, Memorial Moments (I’ve created some really sweet chair plaques for previous clients)
- Custom Napkins, Matches, Drink Stir Sticks


Q: How do you approach doing BOTH invitations & day-of stationery?
Alyssa: I like to work off a project by project basis, but it all starts with Save the Dates, moving to Invitations, and then Day-of Stationery. Throughout the process, I am considering all the design elements of the day; from colors, to attire, to place settings and flowers. All of these components help inspire me to create a cohesive design. As I design Save the Dates, I am already thinking about Invitations and Day-of Stationery so that I can build a strong foundation in designing all of these pieces!
Q: What are some things that nobody thinks about or people often forget when it comes to wedding stationery?
Alyssa’s Answer:
- Collect your addresses EARLY! This is definitely one of the more tedious and time consuming parts of the process. If you have someone in the family that recently got married, ask them to send an address list to get you started.
- As you’re putting together your addresses, I always suggest writing out street names rather than abbreviating. For example: Boulevard vs. Blvd.
- Another tip when collecting guest addresses is to consider zip codes starting with the number 0! Because it starts with a 0, it won’t be picked up in many spreadsheet softwares, so be sure to underline the 0, like this _0, in your spreadsheet before uploading to print, and always, always proofread everything!
- When ordering, consider the quantity of households, and not the actual guest count; otherwise you will be left with far too many extras!
- Don’t forget to weigh your full invitation suite before buying your postage to make sure you purchase enough. I suggest visiting a few post offices to weigh, just to be safe! It’s always better to air on the side of having more postage than necessary, vs. not enough.
- Also consider any international guests you may be inviting, and be sure to order additional stamps for those invitations (usually you’ll need at least another 20-50 cents for international mailings).
- When mailing invitations to international guests, you’ll want to be sure that the stamp on the Response Envelope originates from that country. If it’s difficult to source these, simply leave the envelope stamp-less!
- If your invitations suites are too thick or too heavy, the post office will suggest categorizing them as a parcel or package, which can become costly. The nice thing about this route, however, is that you do get a tracking number and more options to create custom boxes or bubble mailers. Keep this in mind as you are considering how many items to include as part of your suite and how additional embellishments can add to the overall weight!


Q: Can you explain Hand Cancelling to our readers? Do I need an Outer and an Inner Envelope?
Alyssa’s Answer:
In order for the postage to be used, it has to be canceled (literally, crossed or stamped out) in some way. Typically, it goes through a machine to cancel the postage, but with hand canceling, as is implied, it is done by hand, and it should not go through a machine.
Traditionally, an invitation suite includes both an Outer and Inner Envelope. However, more people are now opting for a single Main Envelope that serves as both, particularly for addressing purposes. If you choose this approach, be very clear about who is invited by specifying names on the Main Envelope.
The advantage of using an Outer Envelope is that it safeguards the carefully addressed Inner Envelope and its contents. Given that some post offices may not offer hand canceling, using an Outer Envelope can help keep your mail pristine. Despite this, most of my clients choose to use just a Main Envelope, which is becoming more common and preferred, since it leaves room in the budget to add fun embellishments!
If you do wish to hand cancel your Save the Dates or Invitations, be sure to do your research! Ask your local post office if they offer this before you even get into the drafting process. It is increasingly harder to find post offices that do. If it is an option, wonderful! If not, at least you have the chance to develop a Plan B with your planner or stationer.
Q: What are your suggestions to couples who want to take on designing and mailing their invitations themselves?
Alyssa’s Answer:
- Regardless of the inspiration that you find, find ways to make sure it is your own!
- Etiquette is important throughout the planning process, but in the end, do what best reflects you, your story and your preferences. If you are not very design savvy, look into templates – most are a really great start!
- The designing and assembly processes are more time consuming than you might think. Give yourself enough time to design, proof, receive all of your materials, add postage, and assemble, seal and mail.
- Pro Tip: Drop your invitations off inside the post office rather than in a mailing bin!
Thanks for reading! We hope Alyssa’s thoughtful responses and helpful advice have demystified the stationery process for any of you who might be in the thick of it.
As is always the case in our world, we suggest working with vendors you trust and discussing and setting expectations early on, and we promise, you’ll have a wonderful time designing the special goods for your big event. And if you happen to be in the midst of or have recently completed YOUR stationery process, comment below and let us know how things are going!
We want to extend a huge thank you to Alyssa for providing such excellent expertise, and always being such a pleasure to work with – cheers to many more beautiful collaborations!


